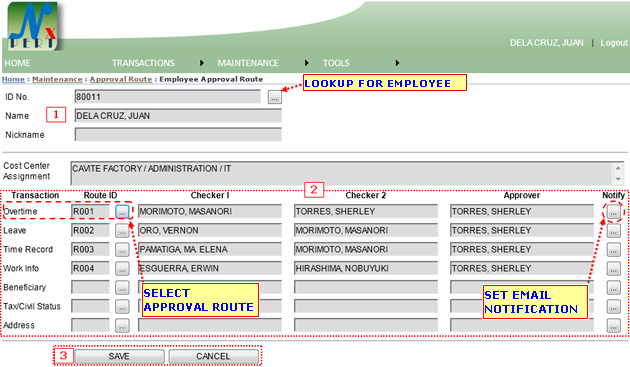
|
|
| 1. |
Employee's Information: This is where the current logged user's basic information appears. With ID No., Name, and Nickname.
A user may file an entry for another employee (depending on the system's access grant for users) by clicking the lookup button for employee. Assume you have clicked the lookup button for Employee, then the system will pop-up another window: Lookup for Employee: 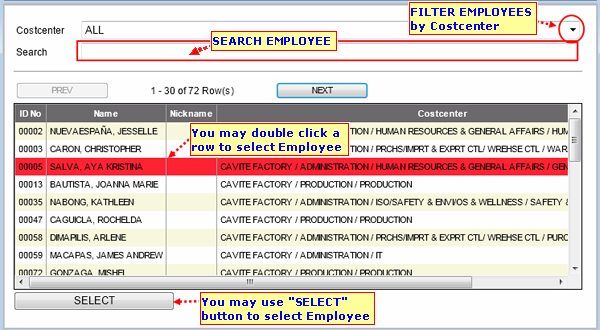
|
| Note: Filing an entry to another employee is only applicable for users who have an access grant from the system. You may ask your system administrator for further assistance. | |
| 2. |
This is where you can set-up approval route for employee per transactions. You can select route by clicking on the lookup button for Route ID. Assume you will set a route for Overtime transaction: Lookup for Route ID: This pop-up window will show lists of approval route available for an employee. 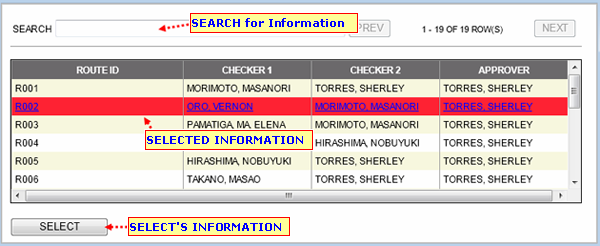
Email Notification: 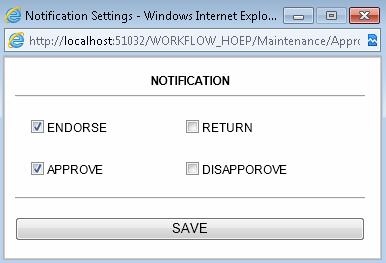
|
| Note: You may follow thesame set-up procedure for other transactions. | |
| 3. |
Once you have done updating routes, you may now click the "SAVE" button to update changes you have made.
Or, you may click "CANCEL" button if you wish not to continue with this. This message from WEB prompts after saving updates for routes. Click OK to continue. 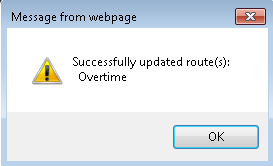
|